Share
Pin
Tweet
Send
Share
Send
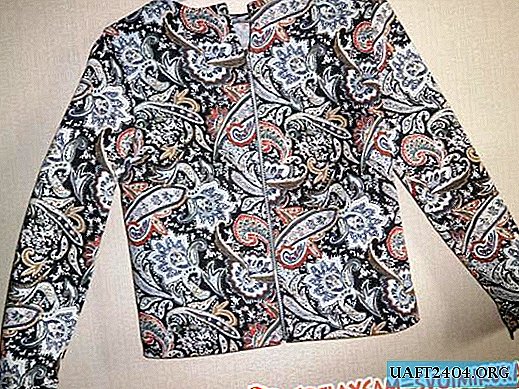
For a windbreaker you will need 60 cm of denim with a width of at least 150 cm.

We carry out cutting along the shared line. For this, we use the pattern-base of the shelf, back and sleeve. In the shelf, the thoracic tuck is transferred to the lateral suture. We make a sleeve set-in with one with one seam. We lay out patterns on the fabric. We make allowances for a loose fit of 4-6 cm. We cut out 2 shelves, a back and 2 sleeves. Circle with colored chalk, cut out.
We begin to assemble the product. It is recommended that work be started by closing the thoracic tucks on the shelf and the shoulder tucks on the back.

Then we sew the shoulder and side seams on the living thread, departing from the edge of at least 1.5 cm. We check that the chest protrusions exactly match the measure of the center of the chest. After fitting, you can sew the side and shoulder seams on a typewriter. We sweep them. Ironing in the direction of the shelves.

Getting started with sleeves.

To begin, we perform a side seam. Then we attach a little head of a sleeve. To do this, just set the longest stitch value and the minimum thread tension that your sewing machine allows.

We sew the sleeve into the armhole on a live thread. We make sure that the top of the sleeve coincides with the shoulder seam. Try on, adjust. Then we sew the sleeves on the machine, the edges of the seam are processed with an overlock.
The bottom of the sleeve is made out in the form of a cuff. We cut a rectangle in length equal to the measure of the sleeve coverage in the wrist area, 5 cm x 2 wide. Stitch the side seams at the cuffs. Then apply the cuff with the front side to the front side of the bottom of the sleeve and grind. Similarly, the second sleeve. After that, on the inside side, the cuff edge must be processed on the overlock and stitched so that the stitch from the front side gets into the connecting seam between the sleeve and the cuff. Ironing.

We turn to the processing of the neck. To do this, we return to the pattern-based. We lay out the fabric along the oblique and we cut out separately the trim for 2 shelves and back. Stitch the details at the side seams. We process the free edge with an overlock. Then we apply the front side of the fine-tuning to the front side of the product and grind them. We twist, fix with an additional seam, iron. Manually trim the trim to the shoulder seams.

Getting to the bottom line of the product. After trying on, we outline the level at which it will pass. In this case, it is the middle of the femur. We process the edge with an overlock, bend and fix. Then we sew. Ironing. The last step is the castle. To do this, bend the necessary width along the central edges of the shelves and grind the main panel and hem in the neck area. We hide the edge of the trim under the hem.
We sit on a live thread a detachable lock separately for each shelf. Then we change the foot in the sewing machine to a special one for attaching the lock and perform this operation. Make sure that the edges of the product are the same.

It remains to iron and the product is ready.

Share
Pin
Tweet
Send
Share
Send

