Share
Pin
Tweet
Send
Share
Send
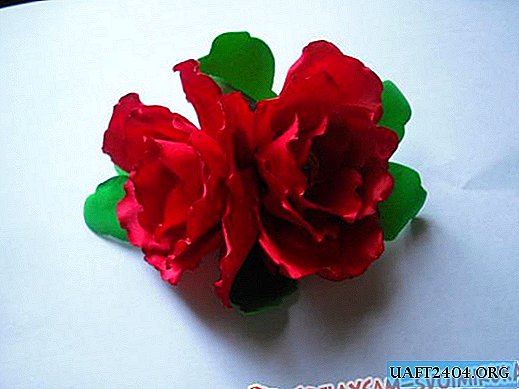
To create such a charming hairpin I need:
- hairpin.
- tweezers with thin long edges.
- a red ribbon 5 cm wide.
- scissors.
- leaflets from fomiaran.
- glue gun.
- large beads in the shape of a crystal.
- lighter.
The creation of jewelry.
First I need to make flower petals, and for this I cut squares with sides of 5x5 cm from a red ribbon. In total, I need 24 pieces for this hair clip. For each flower, 12 petals will be consumed.

Next, all the squares need to trim the two upper corners, rounding them.

Now I gently singe the rounded edge of the future petal, while carefully stretching the cut every 1 cm to get a wave. Thus, all sides of the part should be machined except for the lower cut.

Now I'm starting to process the bottom cut. Turning the part face down, in the middle of the untreated cut of the petal, I make an oncoming fold.

Now I fix the crease by singing the fabric and soldering the joints together. This fold will make the petal voluminous, giving the necessary shape. After that, I straighten the part and straighten the crease. The result is such a beautiful petal.

In the same sequence, I need to do the rest of the petals necessary for the hairpin. After creating them, you can begin to assemble flowers. For each bud, 12 petals are required. A large crystal-shaped bead will be used as the center of the flower. To such a bead I gradually glue the petals around the entire circumference, firmly pressing it to the base. As a result, I got two beautiful buds.

Now applying glue to the side of the bud, I glue them together. And I attach leaflets to the base of the flowers.

After that, it remains for me to fix a hairpin to the base of the flowers.

This completes the creation of the hairpin, she is ready!
Share
Pin
Tweet
Send
Share
Send

