Share
Pin
Tweet
Send
Share
Send
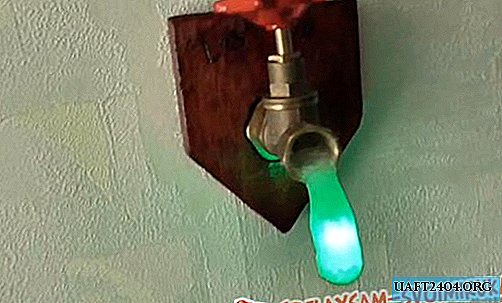
Good day to all, in this article I will tell you how to make a creative night drop with your own hands from improvised means. Here you can make such a beautiful night lamp, having a minimum of materials and following the instructions.
Materials and tools:
- A small segment of the board;
- tap with valve adapter;
- glue gun;
- silicone sealant;
- LED of any color (in this case, green);
- lithium batteries;
- several wires;
- soldering iron;
- rubber medical glove;
- push switch.

Description of manufacture:
Step 1: Make The Drop. To make a “drop”, cut off one of the fingers from the medical glove and fill it with silicone sealant. Until he froze. We form a drop and leave it to dry securing it in a suspended state on clothespins.


Step 2: Solder the electronic filling. We solder the wires going to the battery and to the LED to the switch, we also solder the LED itself. We fix the switch under the valve and check the operability by turning the valve until it presses the button, if the LED is on, proceed to the next stage of assembly.


Step 3: Glue the "drop". Using a glue gun or silicone sealant, glue the already frozen drop to the valve base above the LED, making a hole in it, using a soldering iron, place the LED inside the drop.

Step 4: Saw the base for the nightlight. From the board we cut out the basis for the night lamp.

We make a hole for the crane and fix it, the base can also be painted with varnish and engraved.

Step 5: The final step. We connect the batteries, fix the lamp and evaluate the whole coolness of the resulting work).

Such a simple night light, everyone can make, having a minimum of materials and good imagination, as well as being guided by the instructions given.


Share
Pin
Tweet
Send
Share
Send

