Share
Pin
Tweet
Send
Share
Send
For sure, like each of you, I have accumulated many jars in the kitchen: for spices and cereals, pasta and flour, etc. And all is nothing, but they are too much of different colors and multi-colored, as a creative person, I categorically did not like it. And I decided to change everyday, practical things to elegant decorations, pleasing to the eye of myself and leading my guests to complete delight. There is nothing complicated or financially expensive in the design of the jars; everything that is at hand will be used. And the way I did it!
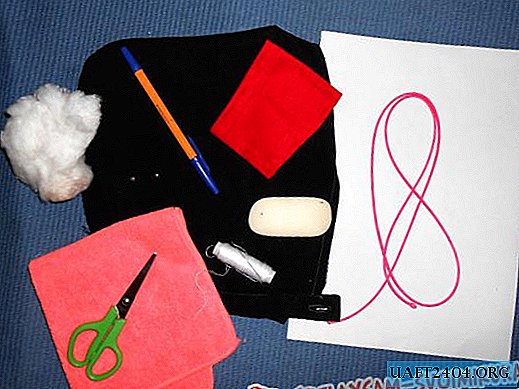
Materials:
- Bank
- PVA glue,
- mother-of-pearl paints (borrowed from the daughter from the makeup kit for dolls),
- eggshell
- gouache
- acrylic lacquer,
- burlap
- lace.
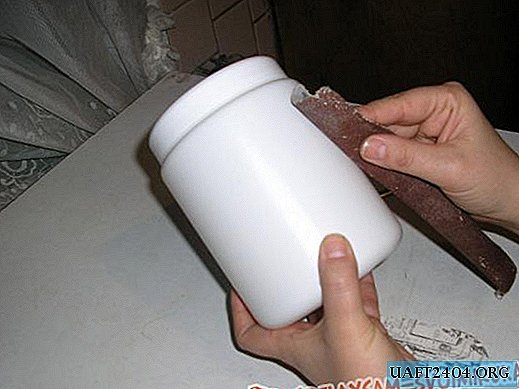
To start, the jar needs to be thoroughly washed and dried. Then walk with sandpaper "null", and degrease with alcohol.
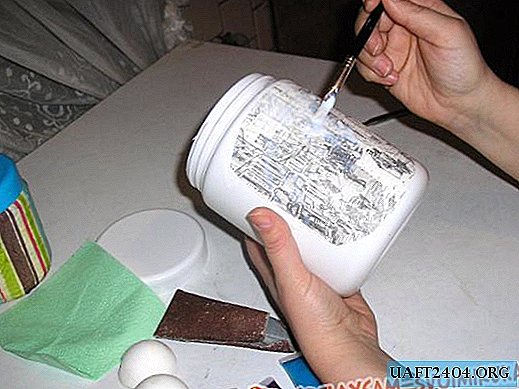
We select a picture: it can be printed on a printer, or cut from a decorative napkin, I had a page from a book. Next, we proceed to sticking the picture with the decoupage technique. If you have not heard this, incomprehensible at first glance, word - do not be alarmed, because this technique lends itself to even small children. First you need to cover the surface (the size of the picture) with soil. In any master class, you will see that you need to use acrylic paints, but we are creating a budget option, so I used gouache. After painting, let dry. And then even easier - we apply our drawing and thoroughly, from the heart, we coat with glue on top.
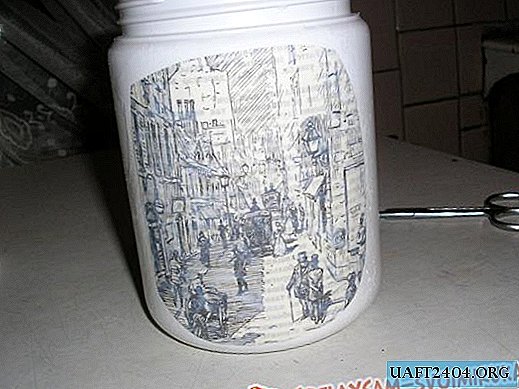
Here's what happened:
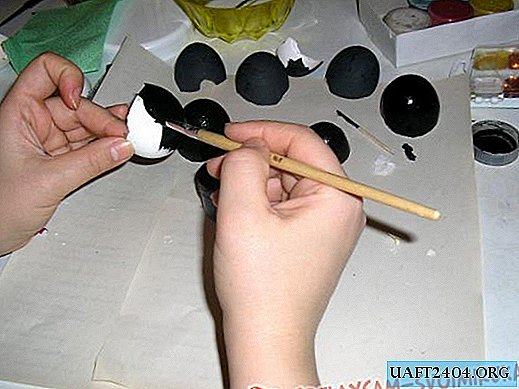
We put our jar to dry, and in the meantime we prepare the eggshell (dried). We paint in black and also send to dry.
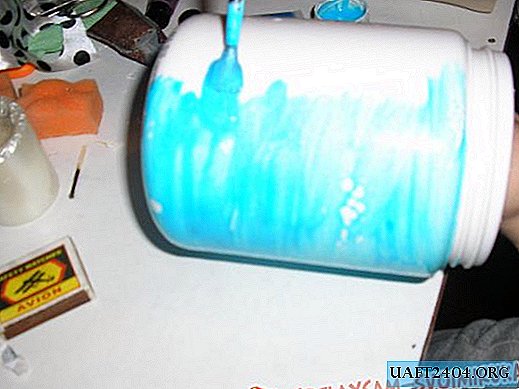
While we were painting eggs, our jar managed to dry and we again took it. We completely paint our jar with mother-of-pearl paints (except for the picture) and let it dry.
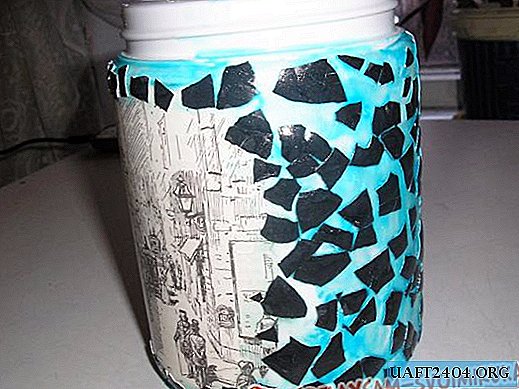
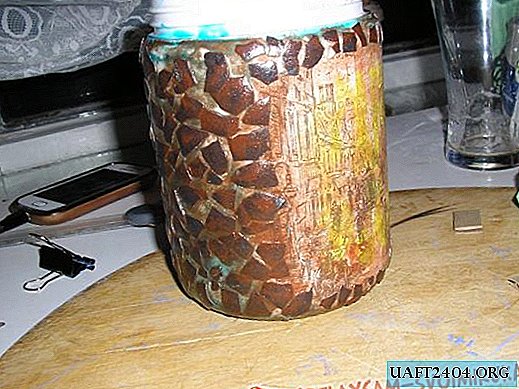
We cover the surface with PVA glue and glue the broken eggshell.

Here we get such a semi-finished product:
Then we pour PVA glue, add pearlescent and brown paints to it, mix well.
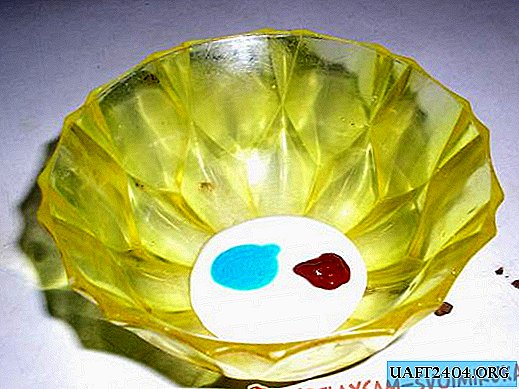
And with the help of a kitchen sponge we apply on the entire surface of the jar (including the picture).
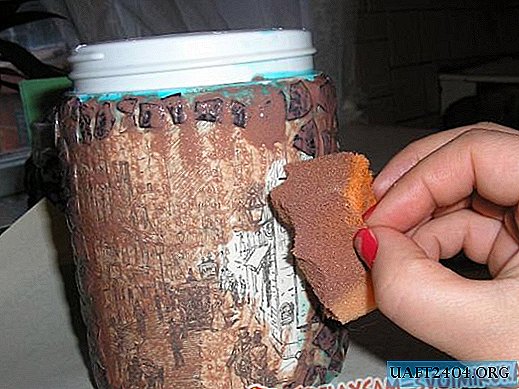
We remove excess paint with a dry sponge, and with a brush with yellow paint we pass through random strokes in the drawing.
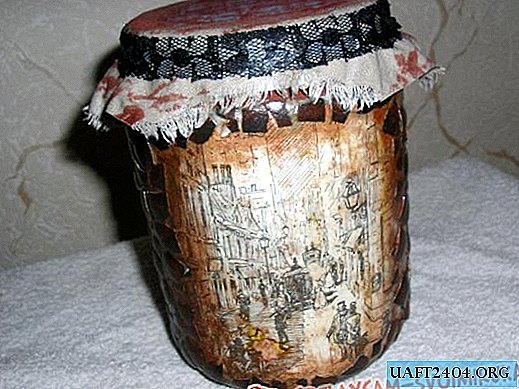
After the drawing dries, sandpaper "zero" walk to "age" the picture. Next, decorate the cover with burlap and lace. We put it on the shelf, admire and brag to the guests.
Still, as an option, the jars did the following:
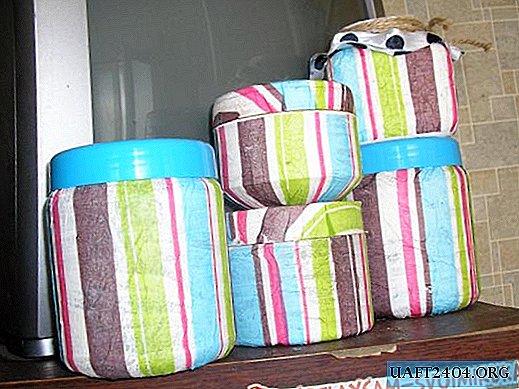
Imagine, create and surprise yourself and others. Good luck
Share
Pin
Tweet
Send
Share
Send