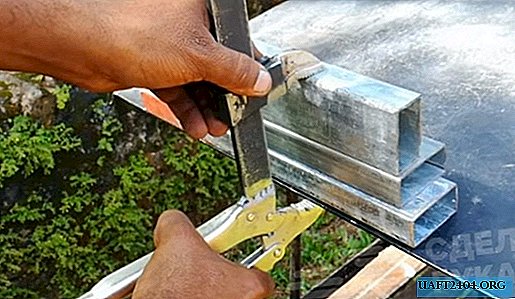
Clamping pliers with a locking mechanism are very convenient to use when you need to briefly fix the workpiece or part for the purpose of its subsequent machining.

However, this tool has a limited throat width, which in some situations makes its use impractical. Therefore, in order not to buy clamps, the manual clamp needs to be slightly modified.
How to make this tool more versatile? Very simple! You just need to increase the working width (i.e. the maximum distance between the upper and lower pressure jaws) using available materials.
The main stages of the development of clamping pliers

First of all, it is necessary to cut off the sponge of ticks in order to "plant" it on a long guide. To do this, we clamp the pincers with the clamp in a vise, make an approximate markup and cut off the upper clamping jaw with the grinder along with the rivet.

We remove part of the metal with a rivet, after which we grind the surface. Next, cut a piece with a length of 10-15 cm from a piece of plate, and weld it to the upper handle of the tool at a right angle. The length of the guide may be shorter.
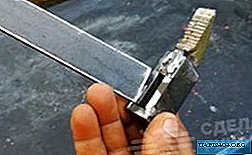
From three segments from the steel plate, the carriage is welded to which the upper jaw of the clamping pliers must be welded. Please note that there should be a slight clearance between the guide and the carriage. Welding spots are grinded.

This is how simple it is to modify a regular manual clamp with a lock - now with it you can fix blanks of different thicknesses with one movement of the hand.

