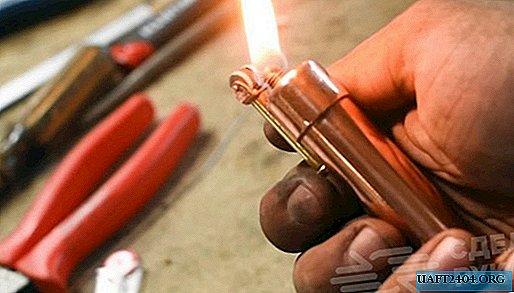
It would seem, well, why reinvent the wheel - to make a gas lighter when you can buy it in any store without any problems? Well, firstly, because it is interesting to do something with your own hands. And, secondly, a homemade lighter can be a source of pride, as well as an original gift to a friend. Yes, and you can make it from improvised materials. Well, let's try?
The main stages of work
We cut off a small piece from the copper plate and bend it with the small letter "p", drilling holes in the "ears" so that you can install and fix the chair (wheel from a regular gas lighter). At the bottom of the plate, you need to make one hole under the flint.
On the outside of the part, a short segment of the brass rod is soldered with a plug at the end, inside which a “cavity” is drilled - the flint itself will be here. The lighter body is made of a hollow copper tube, on which a plug is worn.

A hole is drilled in the center and a piece of the rod is soldered with a hole inside and an external thread so that a cap can be wound on it. On the side of the copper plug, it will be necessary to carefully solder the brass rod with flint and a chair.
Lighter assembly
Cut off a piece of wick of suitable length and wrap it with copper wire for greater rigidity, and then install it inside the tube. Then seal the plug so that it does not open. We stuff the body of the gasoline lighter with cotton and plug it tightly with a plug (again using soldering).

A brass nut must be soldered to the plug, into which we screw a brass bolt, suitable in diameter. See the video for a step-by-step process for making a gas lighter.

